Windows subsystem for linux
This page is a simple copy of https://docs.microsoft.com/en-us/windows/wsl/install-win10. Check out the original source, if something goes wrogn during the isntallation of the WSL.
Step 1: Enable the WSL
You must first enable the “Windows Subsystem for Linux” optional feature before installing any Linux distributions on Windows.
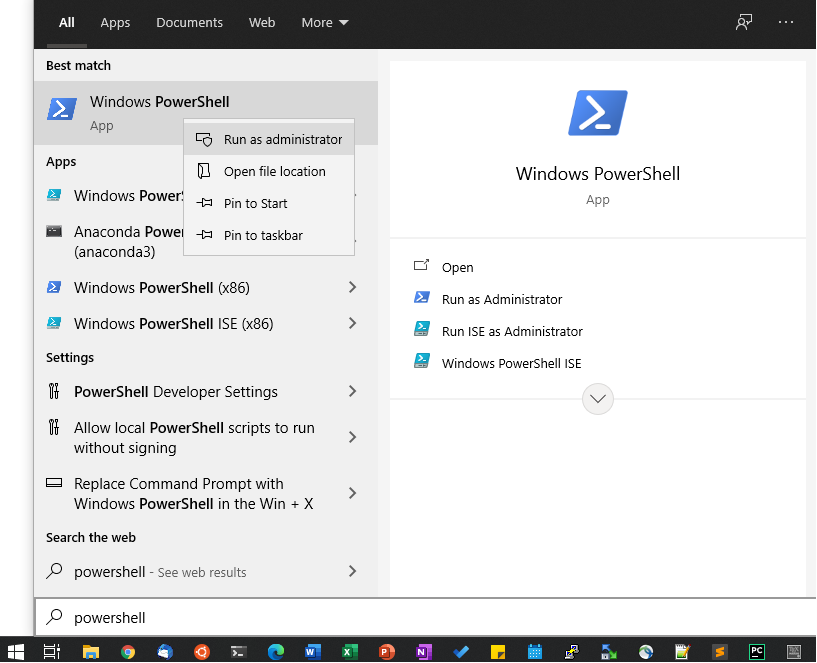
Open PowerShell as Administrator, by opening the start menu and type ‘Powershell’, then right-click the powershell result and select run as Administator.

In powershell run:
dism.exe /online /enable-feature /featurename:Microsoft-Windows-Subsystem-Linux /all /norestart
We recommend now moving on to step #2, updating to WSL 2, but if you wish to only install WSL 1, you can now restart your machine and move on to Step 6 - Install your Linux distribution of choice. To update to WSL 2, wait to restart your machine and move on to the next step.
Step 2: Check requirements for running WSL 2
To update to WSL 2, you must be running Windows 10.
For x64 systems: Version 1903 or higher, with Build 18362 or higher.
For ARM64 systems: Version 2004 or higher, with Build 19041 or higher.
Builds lower than 18362 do not support WSL 2. Use the Windows Update Assistant to update your version of Windows.
To check your version and build number, select Windows logo key + R, type winver, select OK. Update to the latest Windows version in the Settings menu.
Note
If you are running Windows 10 version 1903 or 1909, open “Settings” from your Windows menu, navigate to “Update & Security” and select “Check for Updates”. Your Build number must be 18362.1049+ or 18363.1049+, with the minor build # over .1049. Read more: WSL 2 Support is coming to Windows 10 Versions 1903 and 1909. See the troubleshooting instructions.
Step 3: Enable Virtual Machine feature
Before installing WSL 2, you must enable the Virtual Machine Platform optional feature. Your machine will require virtualization capabilities to use this feature.
Open PowerShell as Administrator and run:
dism.exe /online /enable-feature /featurename:VirtualMachinePlatform /all /norestart
Step 4: Download the Linux kernel update package
Download the latest package:
Note
If you’re using an ARM64 machine, please download the ARM64 package instead. If you’re not sure what kind of machine you have, open Command Prompt or PowerShell and enter:
systeminfo | find "System Type". Caveat: On non-English Windows versions, you might have to modify the search text, for example, in German it would besysteminfo | find "Systemtyp".
Run the update package downloaded in the previous step. (Double-click to run - you will be prompted for elevated permissions, select ‘yes’ to approve this installation.)
Once the installation is complete, move on to the next step - setting WSL 2 as your default version when installing new Linux distributions. (Skip this step if you want your new Linux installs to be set to WSL 1).
Note
For more information, read the article changes to updating the WSL2 Linux kernel, available on the Windows Command Line Blog.
Step 5: Set WSL 2 as your default version
Open PowerShell and run this command to set WSL 2 as the default version when installing a new Linux distribution:
wsl --set-default-version 2
Step 6: Install your Linux distribution of choice
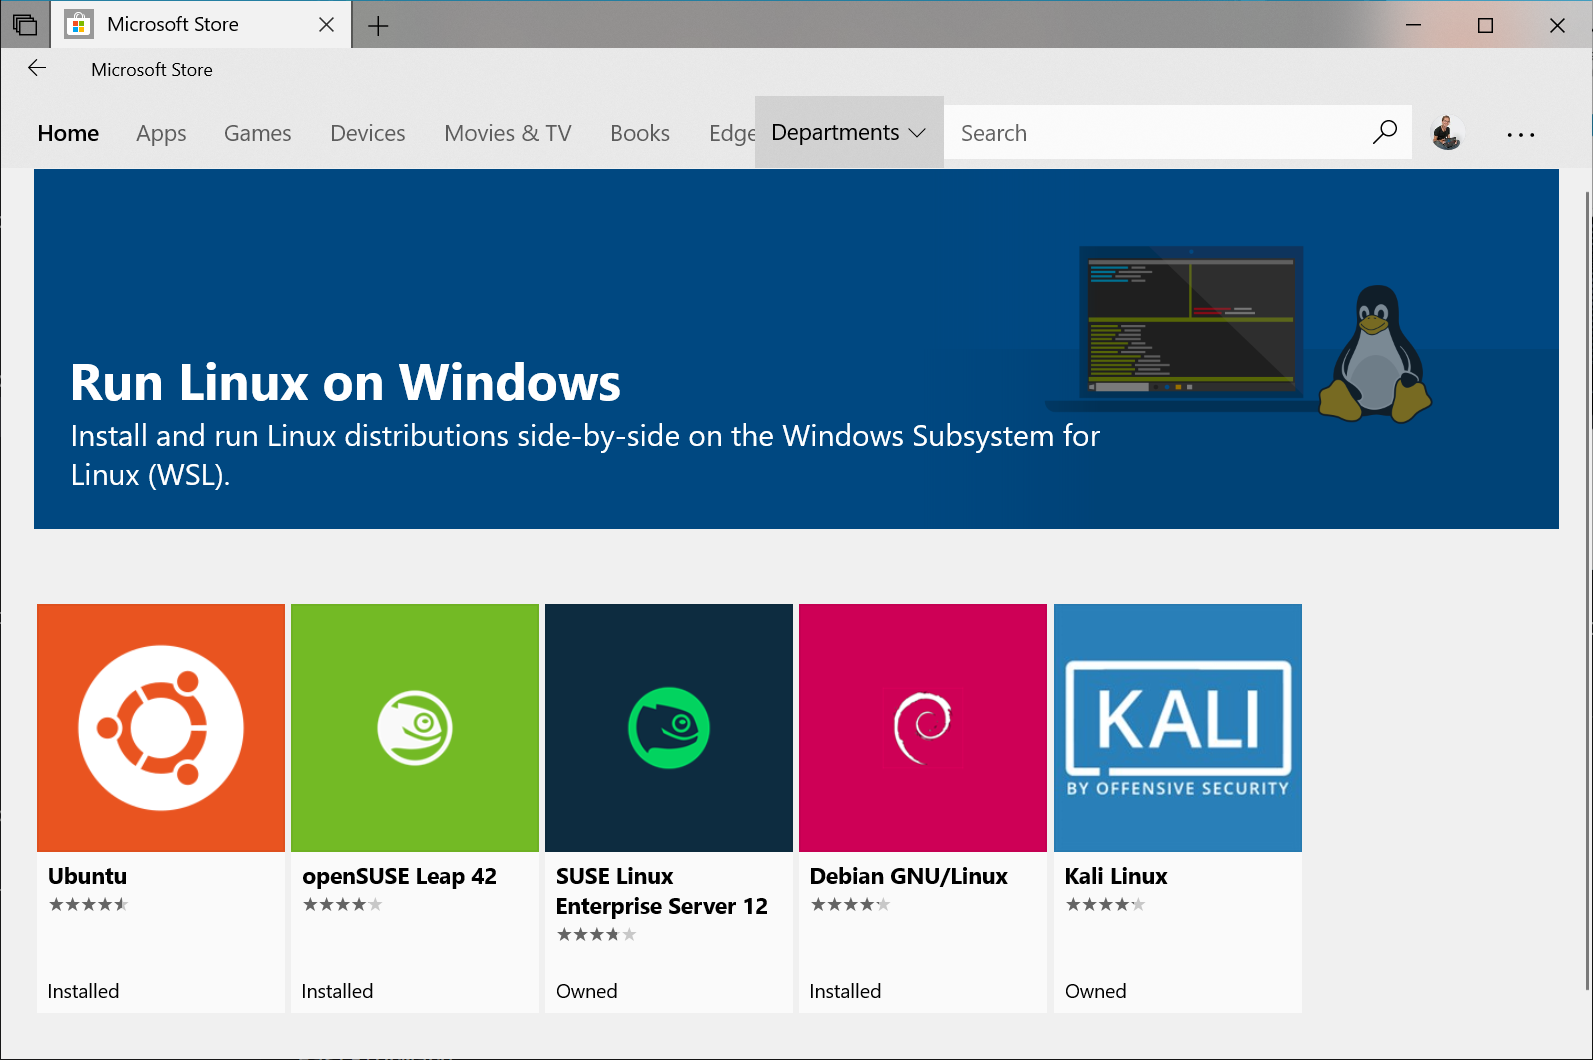
Open the Microsoft Store and select your favorite Linux distribution.

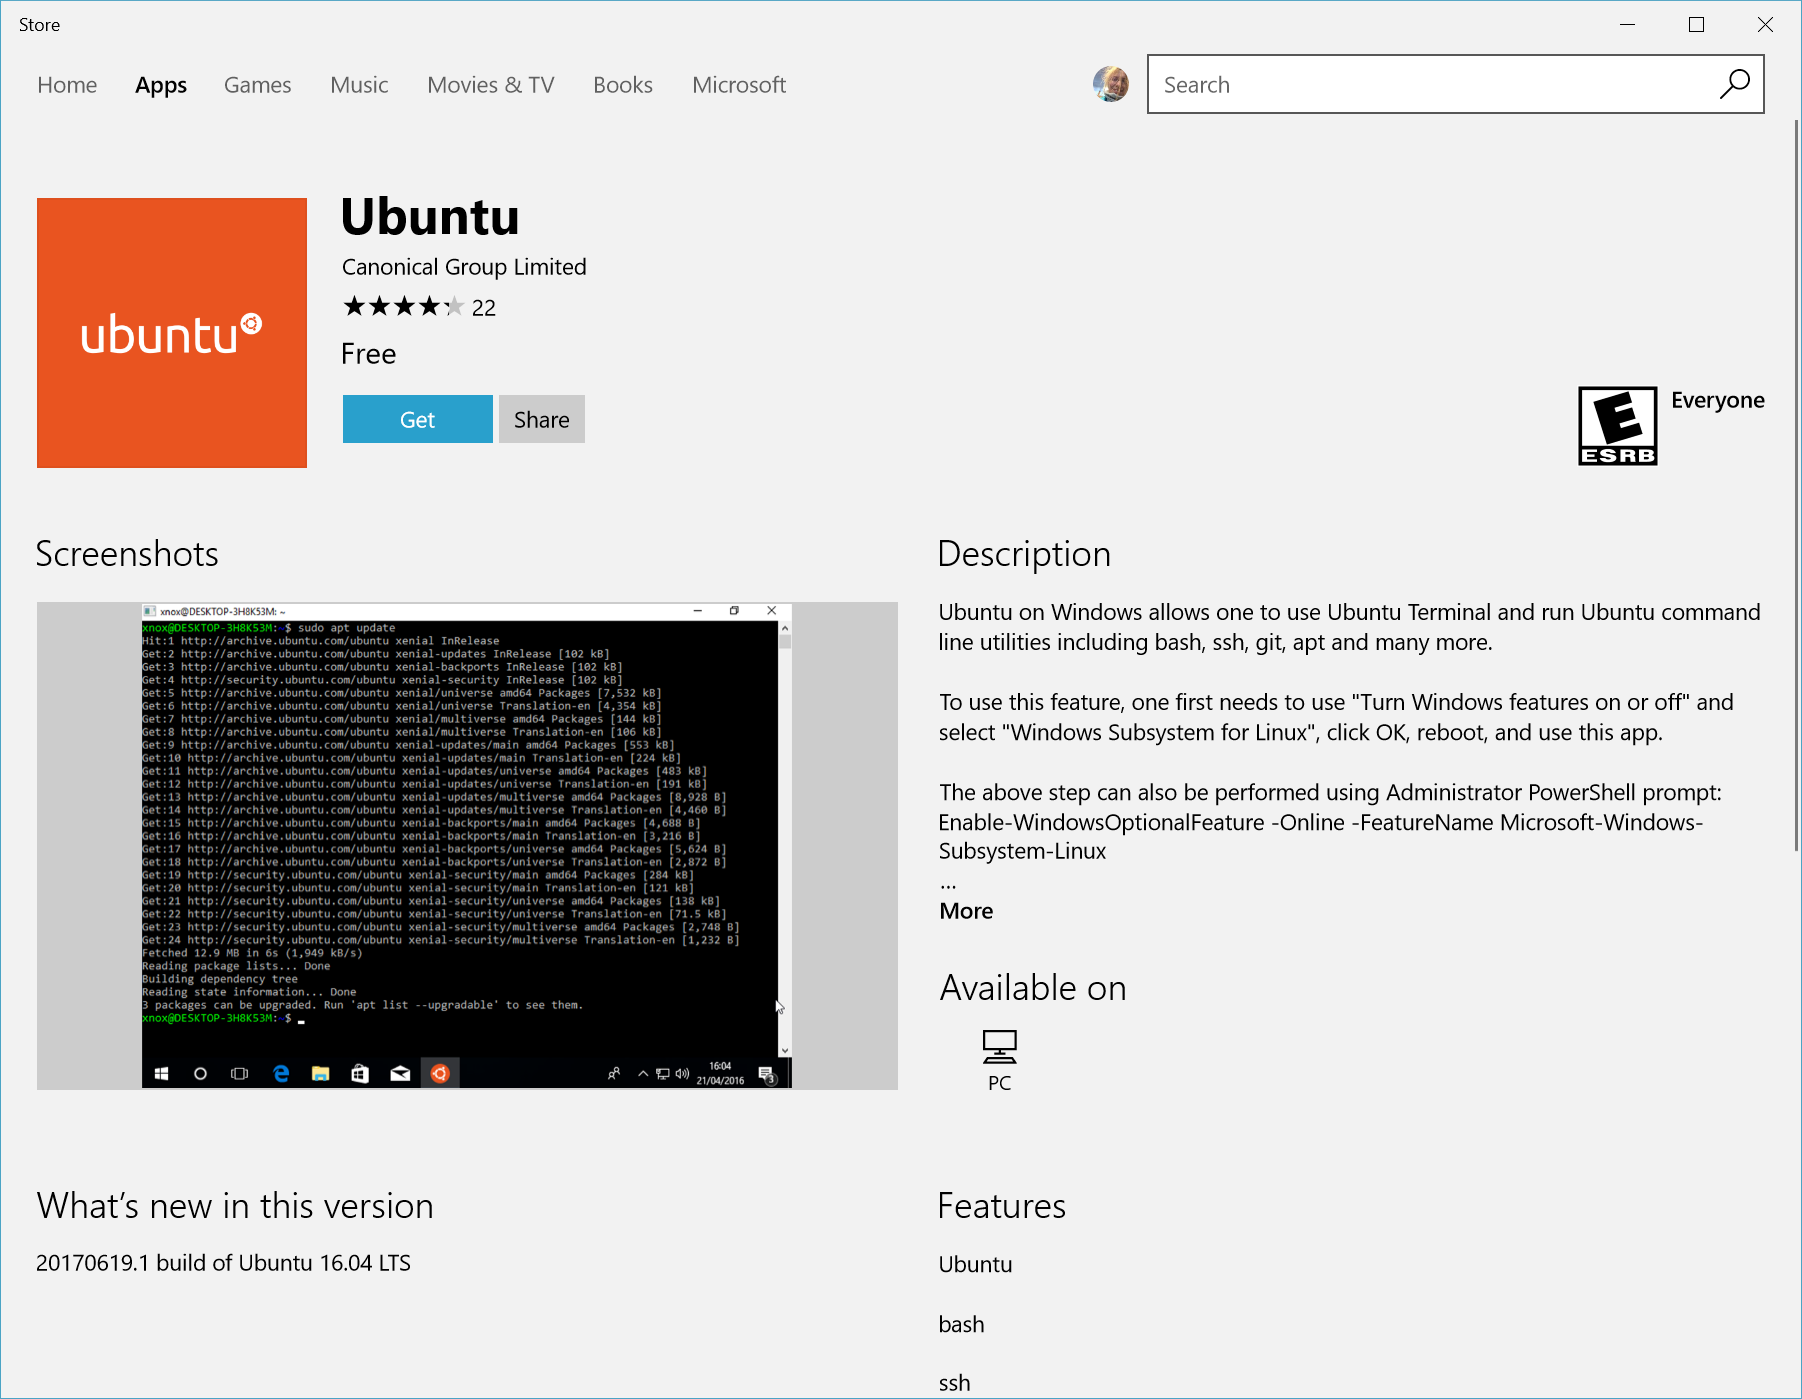
From the Ubuntu distribution’s page, select “Get”.

The first time you launch a newly installed Linux distribution, a console window will open and you’ll be asked to wait for a minute or two for files to de-compress and be stored on your PC. All future launches should take less than a second.
You will then need to create a user account and password for your new Linux distribution.

CONGRATULATIONS! You’ve successfully installed and set up a Linux distribution that is completely integrated with your Windows operating system!
Install Windows Terminal (optional)
Windows Terminal enables multiple tabs (quickly switch between multiple Linux command lines, Windows Command Prompt, PowerShell, Azure CLI, etc), create custom key bindings (shortcut keys for opening or closing tabs, copy+paste, etc.), use the search feature, and custom themes (color schemes, font styles and sizes, background image/blur/transparency). Learn more.
